We may earn revenue from the products available on this page and participate in affiliate programs. Learn More ›
While plenty of bass anglers catch lots of fish by banging the bank and exclusively targeting visible cover, catch rates can increase exponentially by using the best fish finders. These electronics don’t catch fish on their own; you have to learn how to read a fish finder to get the most out of their long list of capabilities. But once you learn how to use them, you’ll be able to locate structure and cover, pinpoint obstructions, map bodies of water, and navigate safely.
Consistent with the basic concept of Moore’s Law, computing power has gone way up in recent years, and the price per unit of memory has generally gone down in marine electronics. That doesn’t mean they’re inexpensive by any means. The mount that I purchased for a 12-inch color console unit on my 2018 bass boat cost more than the 4-inch black and white graph (then state of the art) on my 1995 boat. The electronics themselves can cost several thousand dollars apiece, and that’s before you add optional map chips, specialized wiring harnesses, and other accessories that improve performance. The price increase comes not only from inflation but also because these modern electronics do so much more.
Not only can one graph talk to another, but you may be able to control it with a connected smartphone. Graphs can also control trolling motors along a set route. In addition to traditional vertical two-dimensional sonar, more advanced units have “down imaging,” “side-imaging,” and in some cases, even “forward facing” sonar.
It pays to understand the features of a given piece of equipment, but all modern sonar derives from certain basic truths.
How Fish Finders Work
In 1959, Darrell Lowrance introduced the “Little Green Box,” formally named the “Fish Lo-K-Tor,” a portable sonar box that became the most popular sonar unit in the freshwater sphere. There were other similar products from other manufacturers, as well as do-it-yourself kits, that provided similar results.

Known as “flashers,” they generally had a circular dial with lighting around the edges. The top of the dial would represent zero depth or the water’s surface. The totality of the range would represent a given (sometimes adjustable depth), such as 60 feet, so the 6 o’clock position would represent half of that, or in that case, 30 feet.
The sonar unit, attached to a transducer, would send out “pings” into the water, and the amount of time that they took to hit bottom and bounce back would be reflected as a depth reading. If the bottom was firm, the ping would make a hard return, showing as a short line marking. If the bottom was soft, the ping would penetrate deeper, and the marking would be a thicker light reading.
If there were items in between the surface and the bottom, the sonar beam would reflect them and then continue on. They would be represented as smaller, disappearing lines—blink, and you might miss them. A school of baitfish would be a series of dashes, while a larger predator would show as a single thicker line at a given depth. Brush or vegetation extending from the bottom would similarly be reflected as “softer” lines.
The readings don’t necessarily reflect exactly what is below the transducer. Indeed, the beam is shot down as a cone – with different cone angles often available—so as the water gets deeper, the signal extends out further from its core.
While some anglers still cling to comparatively rudimentary flashers for their sonar, arguing that they provide real-time information, most have moved onto more modern versions which literally draw a picture. The earliest were LCDs or drawings on unwieldy pieces of paper (which did have the advantage that you could save and later review what you’d seen), and now more advanced computers.
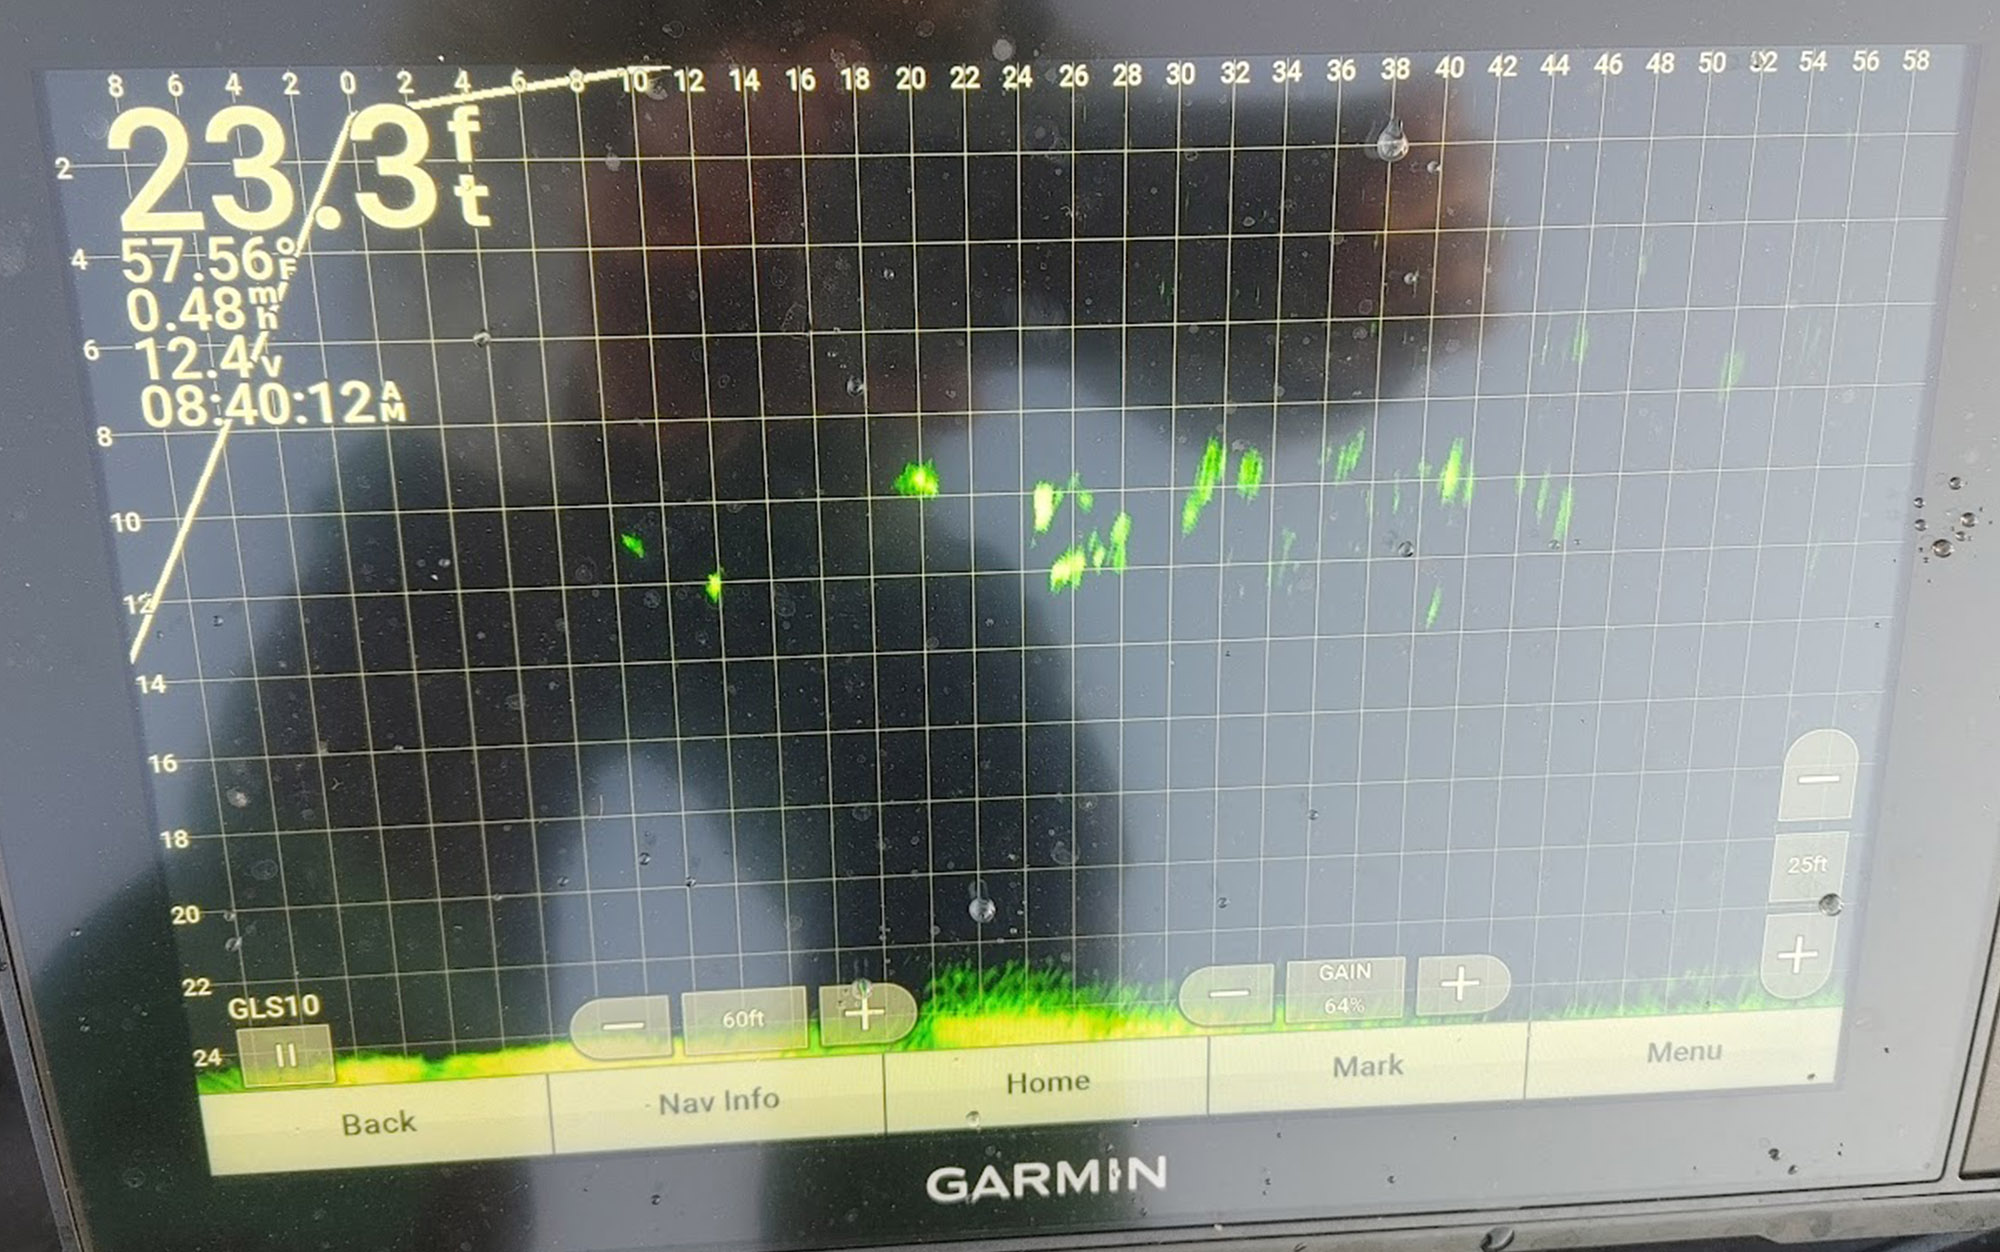
Nevertheless, the principle remained the same—a beam was sent down, and a signal was sent back. The earlier graphs showed crudely pixelated representations of what was below, while on some more recent versions, it’s possible to see the head, tail, and fins of a fish. Generally, smaller baitfish show up as smaller dots, while gamefish show up in the form of a hook. When the predators are slashing into the schools of forage, they look like streaking lines across the screen. Below is everything you’ll need to learn about how to read a fish finder.
Read Next: Best Kayak Fish Finders
How to Read Down Imaging or Two-Dimensional Sonar
While most two-dimensional sonar draws a picture, the more advanced down-imaging looks almost like a photograph. Sometimes they will show slightly different scenes, so savvy anglers will split their screen to watch both for subtle clues. When paired with GPS and mapping, it’s possible to drop a waypoint on a point of interest and come back to see it.
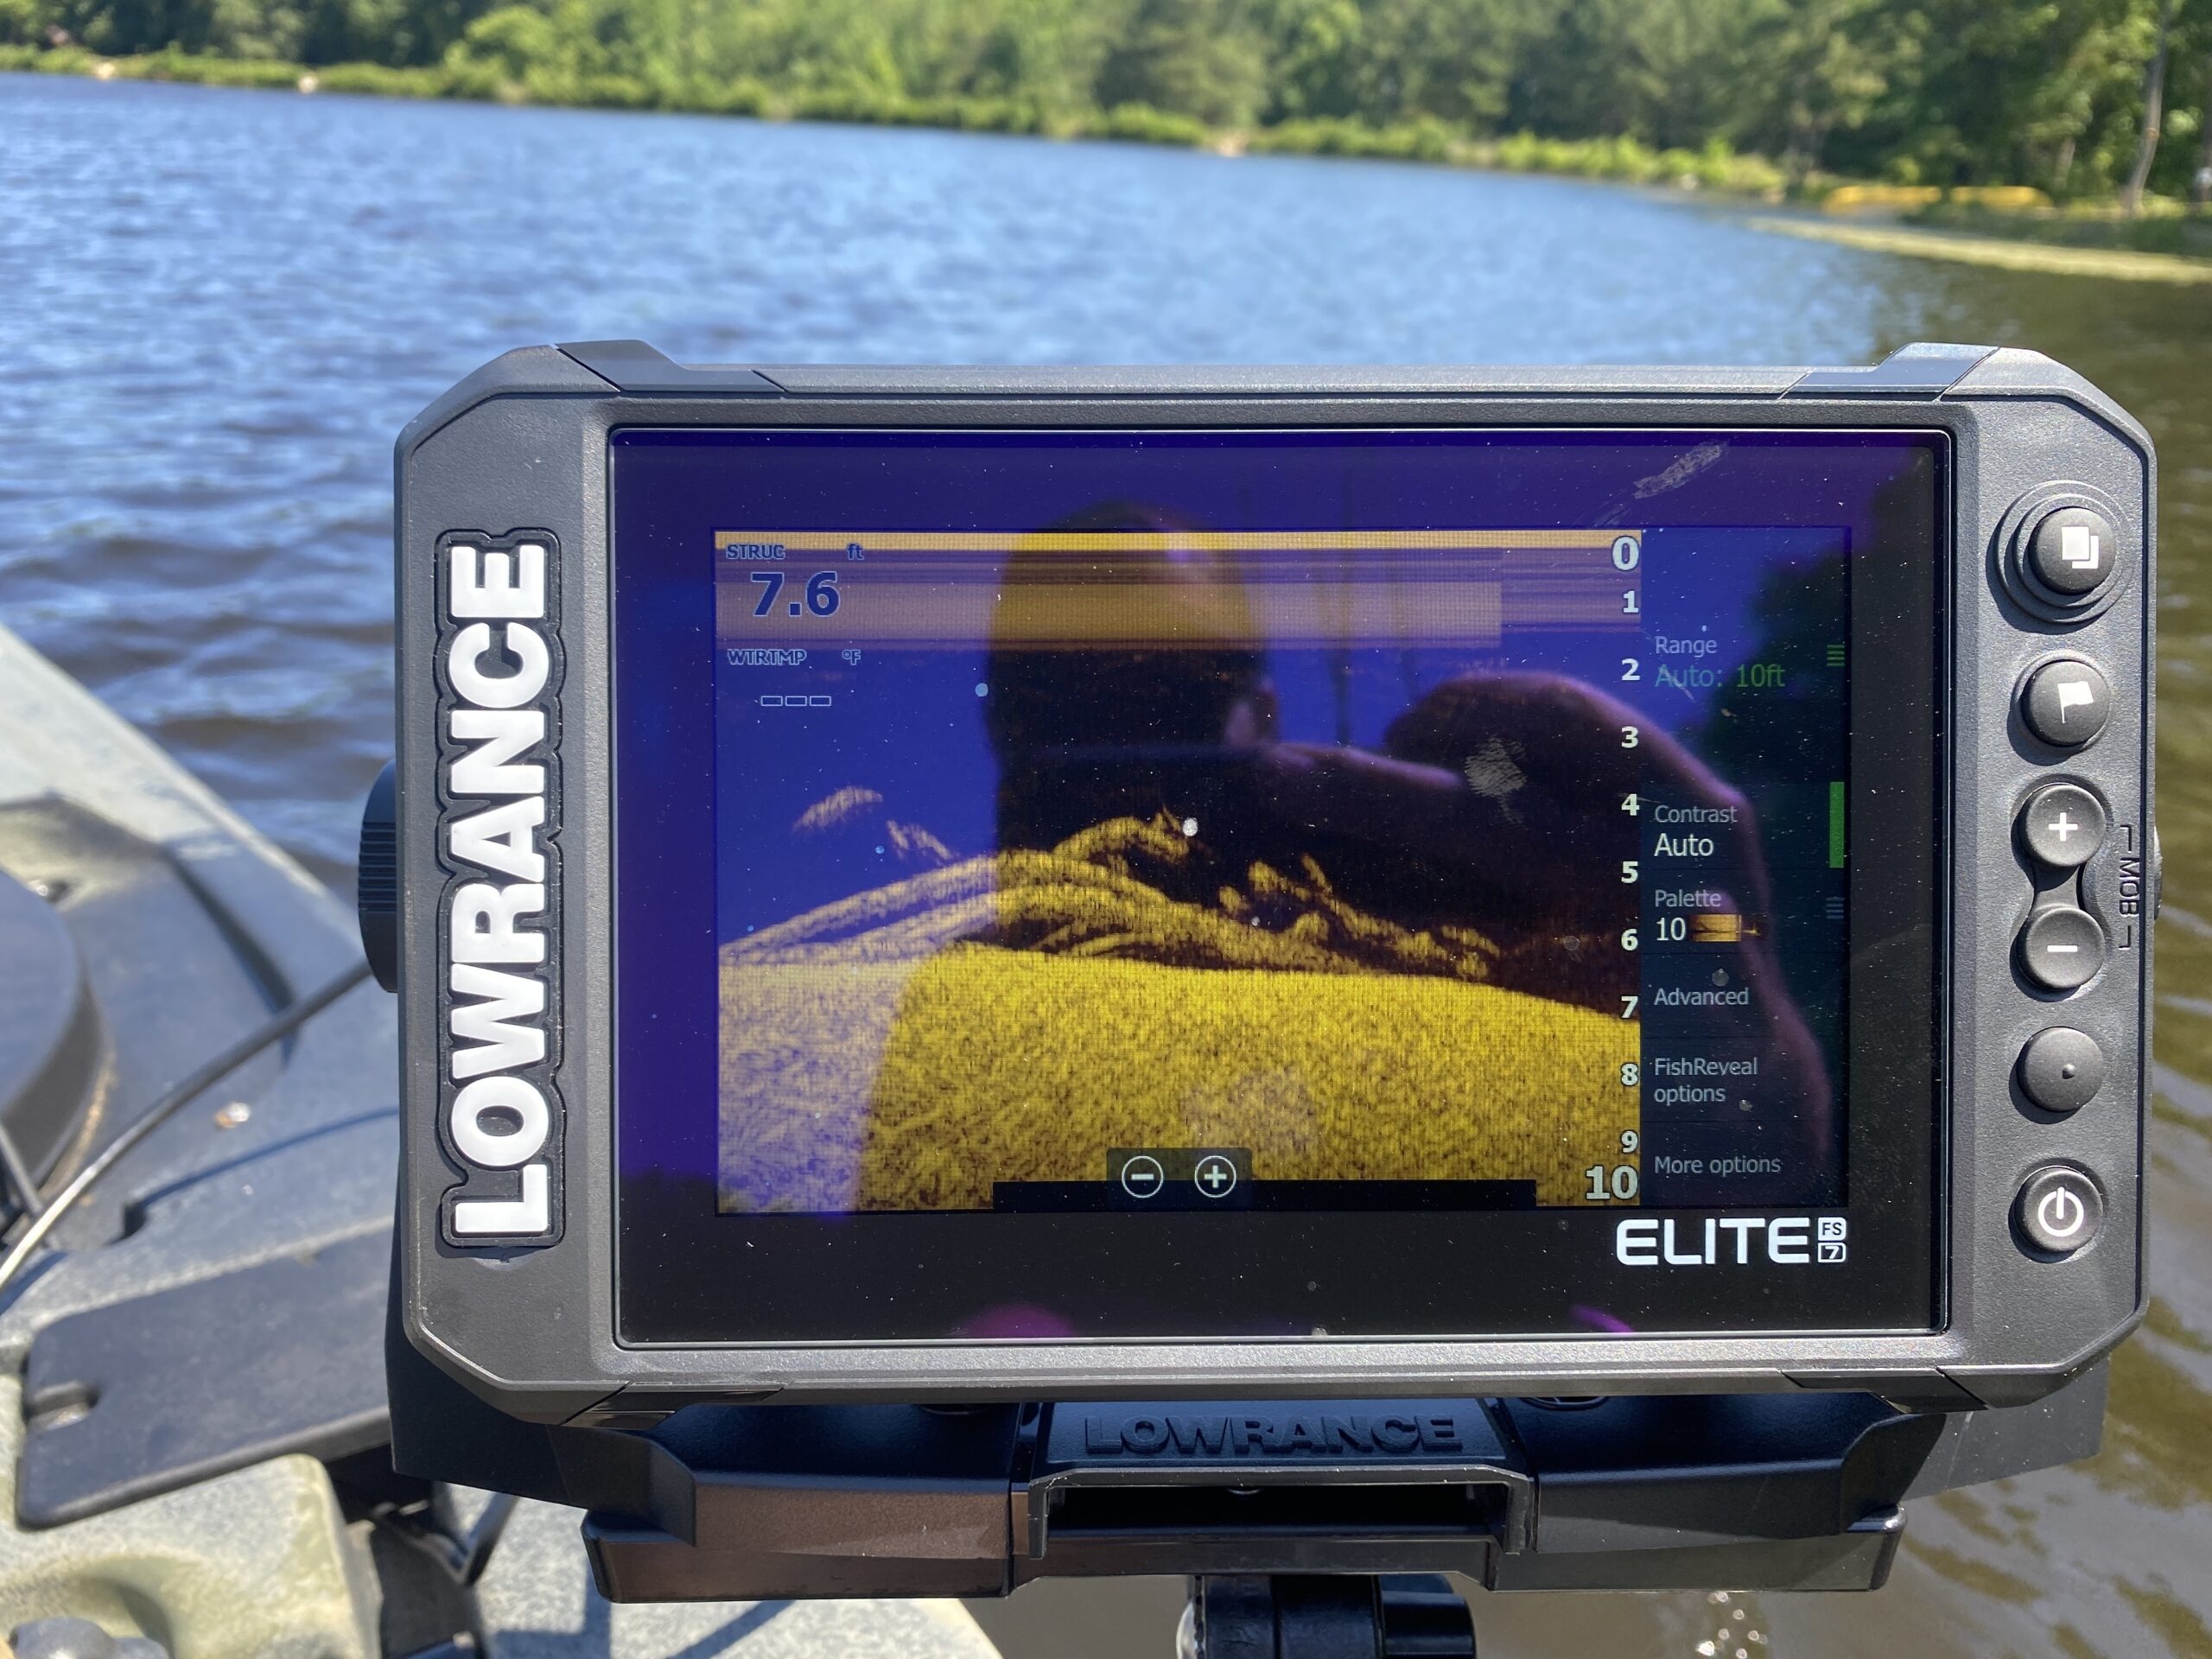
Here’s what to look for when you’re using down imaging:
- Baitfish: Look like a wispy cloud
- Game fish: Look like an arc
- Rocks and trees: Will be in a lighter shade because they generate a stronger return
One great way to learn what you’re seeing is to go someplace where you know what’s underneath the surface. Drive over a place like an old roadbed with stumps, a brush pile, or a set of cinderblocks to see how that information is translated.
Most of these 2D down imaging units also allow you to adjust your ping settings, so you can get more or less feedback if desired. This can be helpful when trying to see your bait while vertically fishing with down imaging. With the advent of forward facing sonar, this has become less popular, but there are still plenty of successful anglers watching fish react to their lures using down imaging.
How to Read Side Imaging Fish Finders

Side imaging sonar works best when idling, looking for both major and minor structures, as well as schools of fish. For example, today, anglers can idle down miles of Tennessee River ledges looking for slight irregularities, shell bars, and stumps in the time that it used to take to fish through just a fraction of that same territory.
Rather than forming a downward cone, the beam shoots out to the side of the boat up to a predetermined range. A straight vertical line down the center of the graph represents the boat. A black area on either side of that line will represent the vertical water column down to the bottom, and then the bottom will expand outward from there perpendicularly.
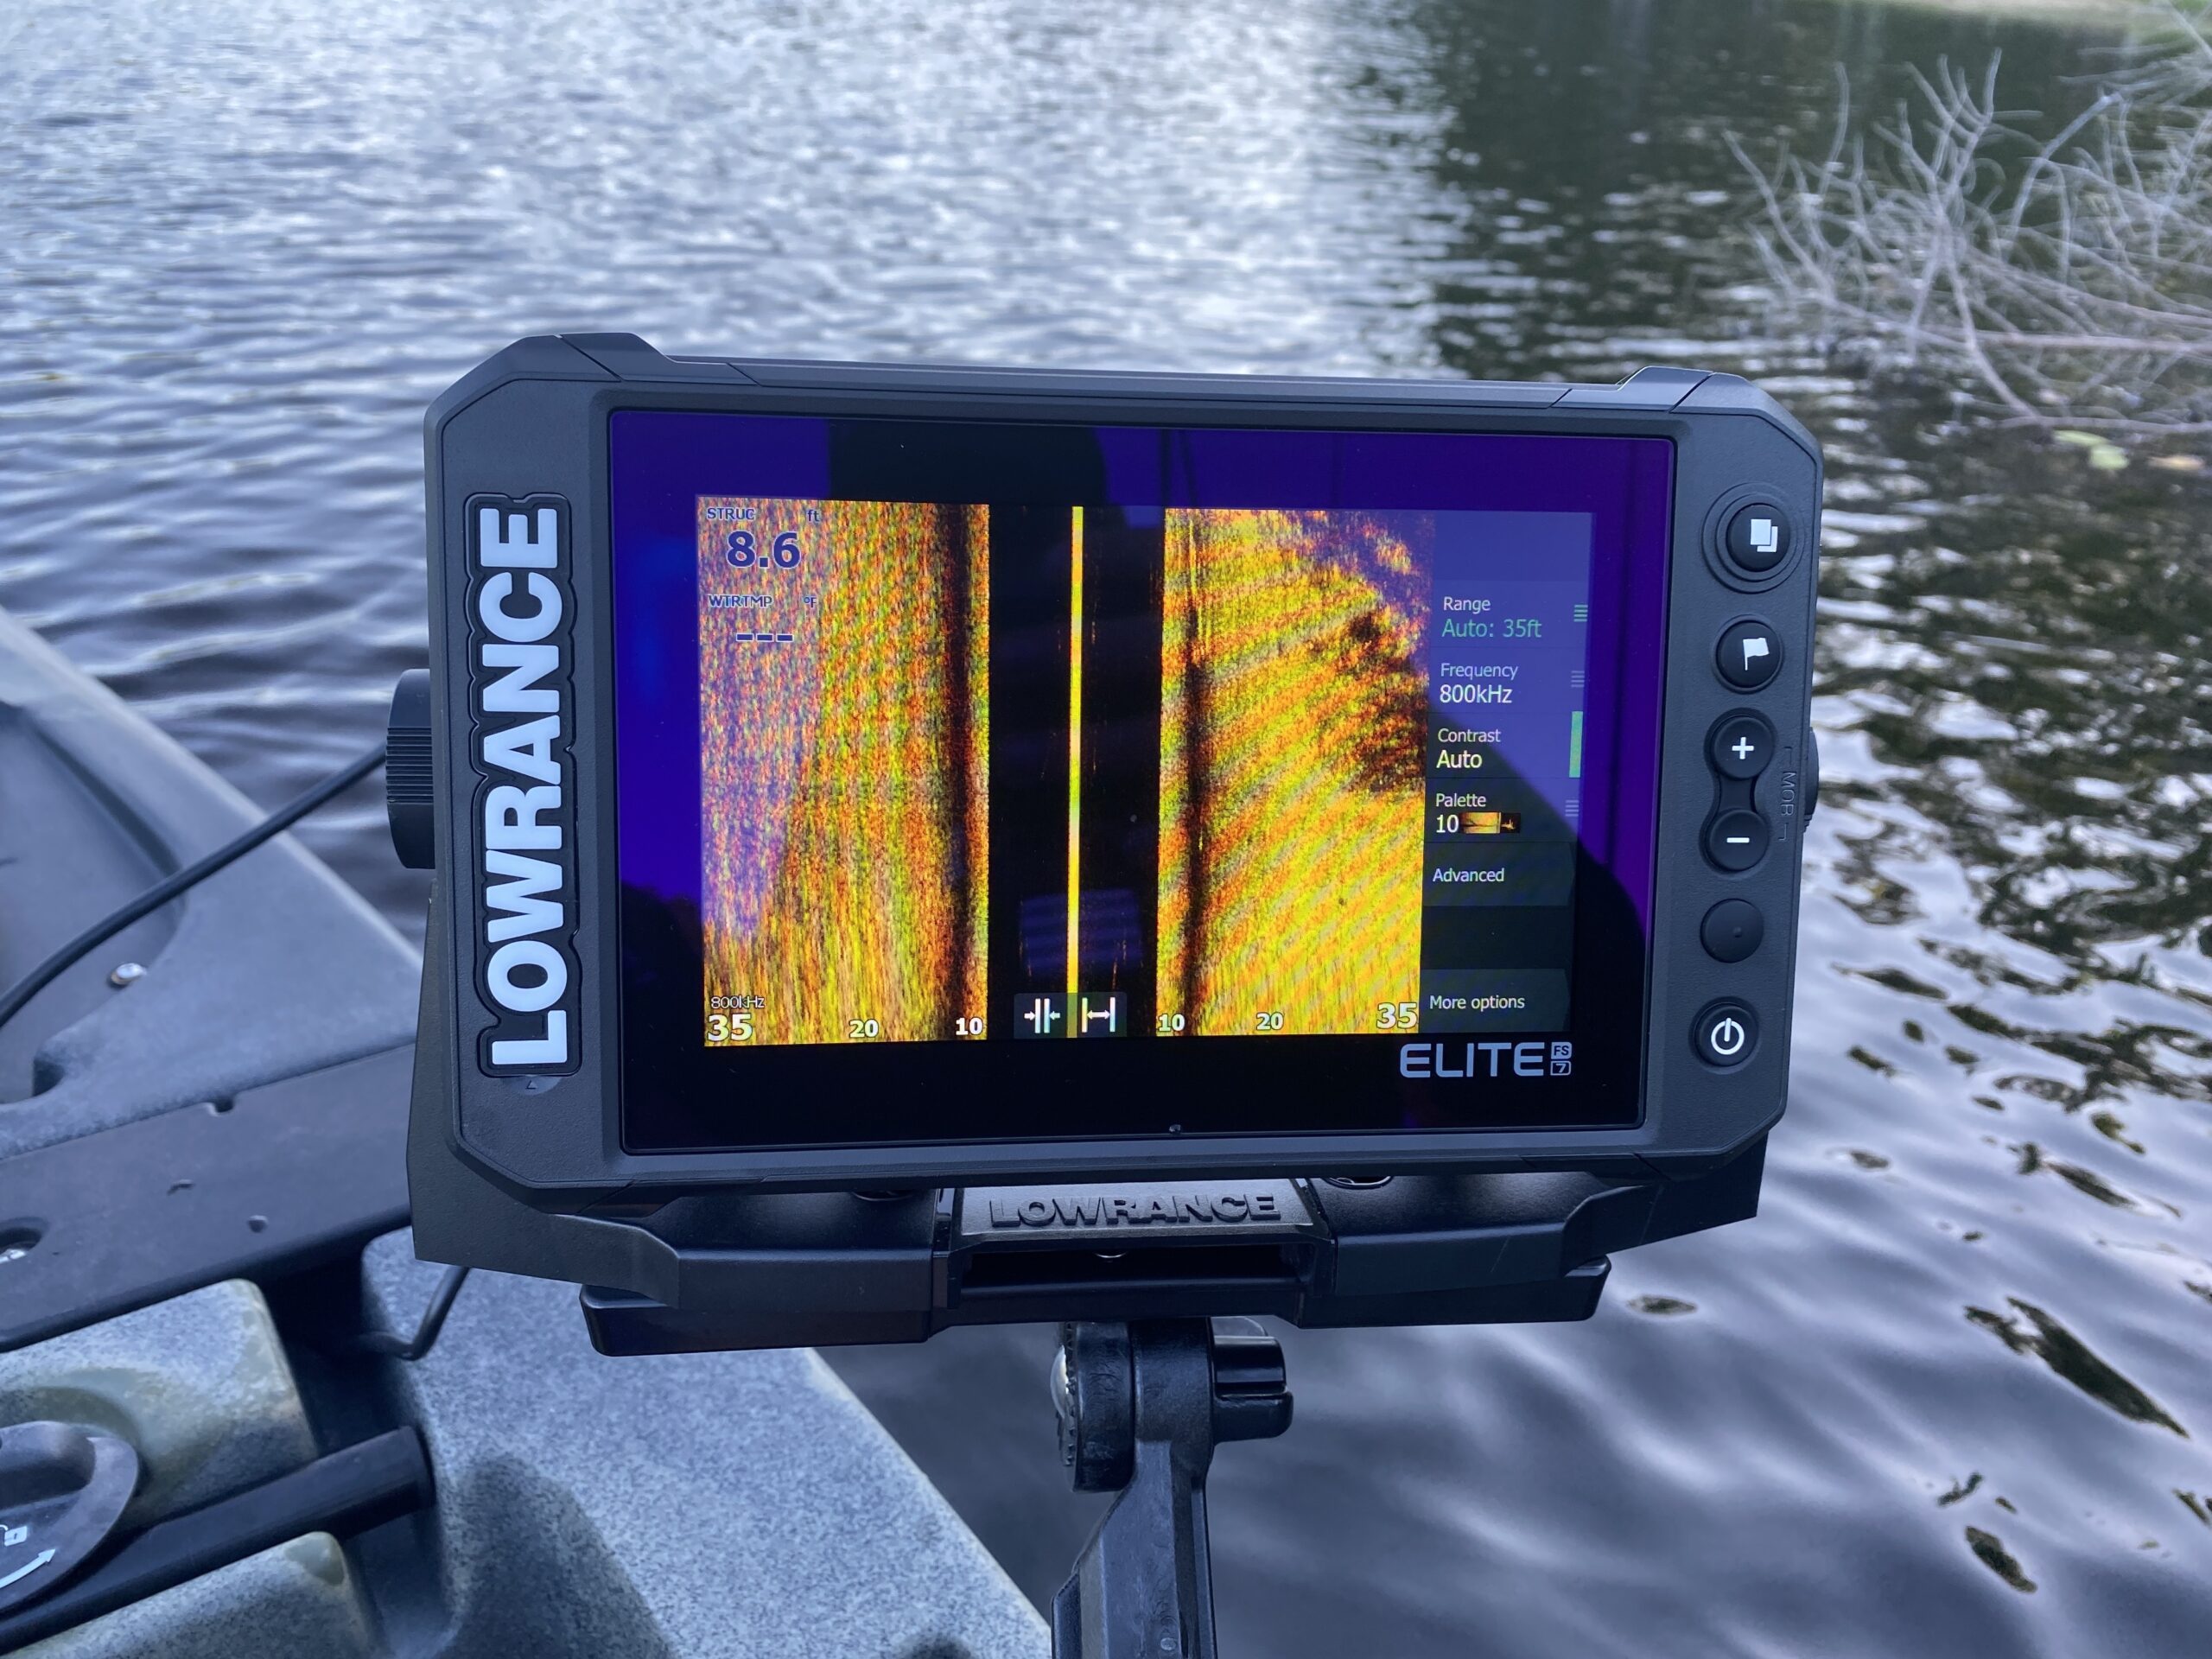
Along that bottom, it will be possible to see near-photographic images of rocks, stumps, timber, and fish. It’s also possible to freeze frame, magnify an area, and even save that picture. Anglers now have a popular parlor game of posting “found objects” like sunken trucks and boats, as well as old house foundations and underwater bridges.
Just like in down imaging mode, soft objects appear darker, and hard objects appear brighter. But unlike down imaging, you’ll also see shadows. Imagine the beams from your transducer acting as a flashlight that casts a shadow from objects as it passes. Sonar shadows are helpful clues for things like telling how far a fish is off the bottom. If the shadow is close to the mark, it’s tight to the bottom, and if the shadow is far from the mark, it’s higher off the bottom.
One advantage of side-imaging is that it keeps the boat away from the targeted area, minimizing the ability to spook any fish hanging there. Another is that it’s possible to scour huge amounts of water in reduced time. The downside to the longer range setting (100+ feet) on a side imaging fish finders is that you lose detail. You’ll gain a lot of detail in shorter-range settings (less than 80 feet).
While the picture may gain additional clarity and detail with a shorter range, most anglers find a happy medium between maximum coverage and the highest quality images.
How to Read Forward-Facing Sonar
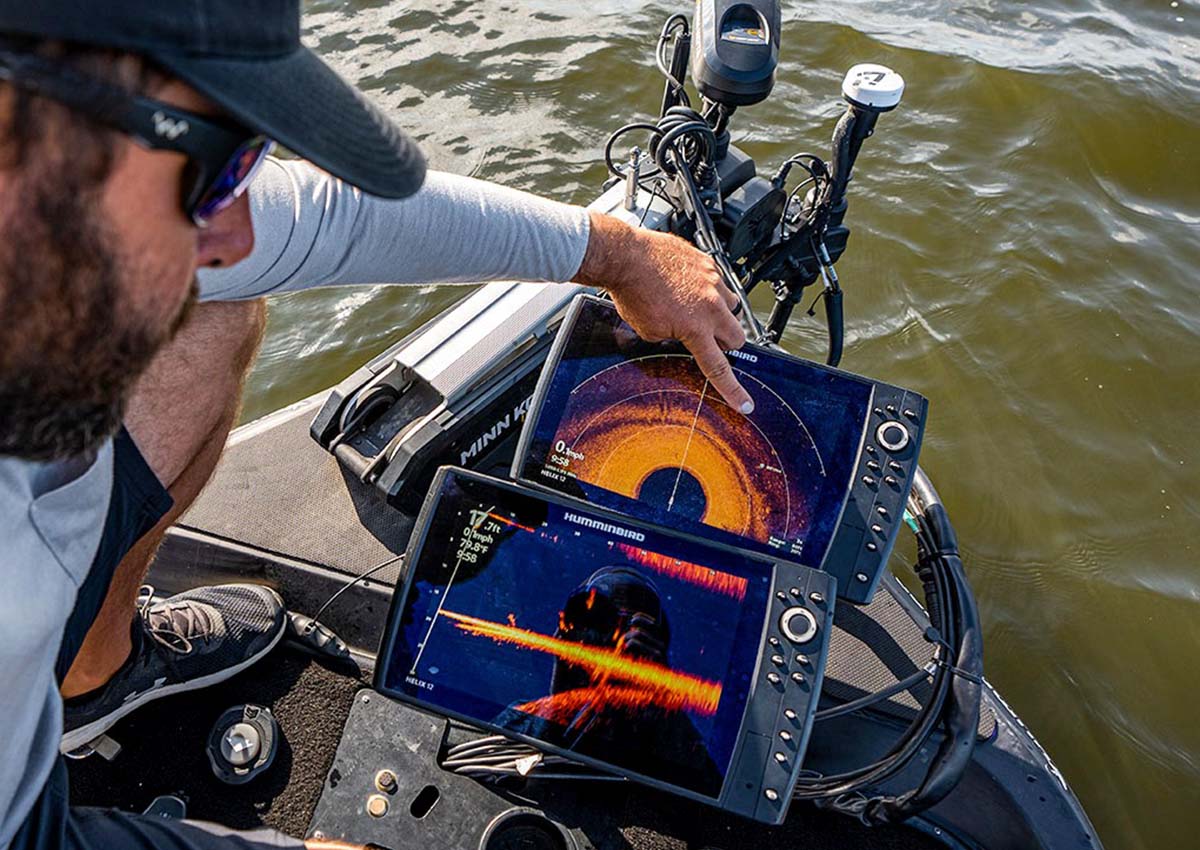
Over the past decade, all of the major fishing sonar manufacturers have added some sort of forward-facing sonar technology to their products. Now, instead of going down or to the side, the beam projects forward, most often off the base or shaft of a trolling motor.
Users set a maximum distance and a maximum depth and look forward to seeing what’s in front of the boat. It might be a bridge piling or a rock pile. It might be a suspended school of fish. It’s also possible to target individual gamefish, which show up as moving and increasingly lifelike lighted figures. Unlike down imaging, a fish looks like a fish instead of an arc. Some anglers have turned into hunters, not casting until they see their prey using techniques like strolling. Others have used it to dial in their retrieve speeds or lure colors—they may see a fish follow but not strike their jerkbait or swimbait, but a slight alteration flips the switch from fishing to catching.
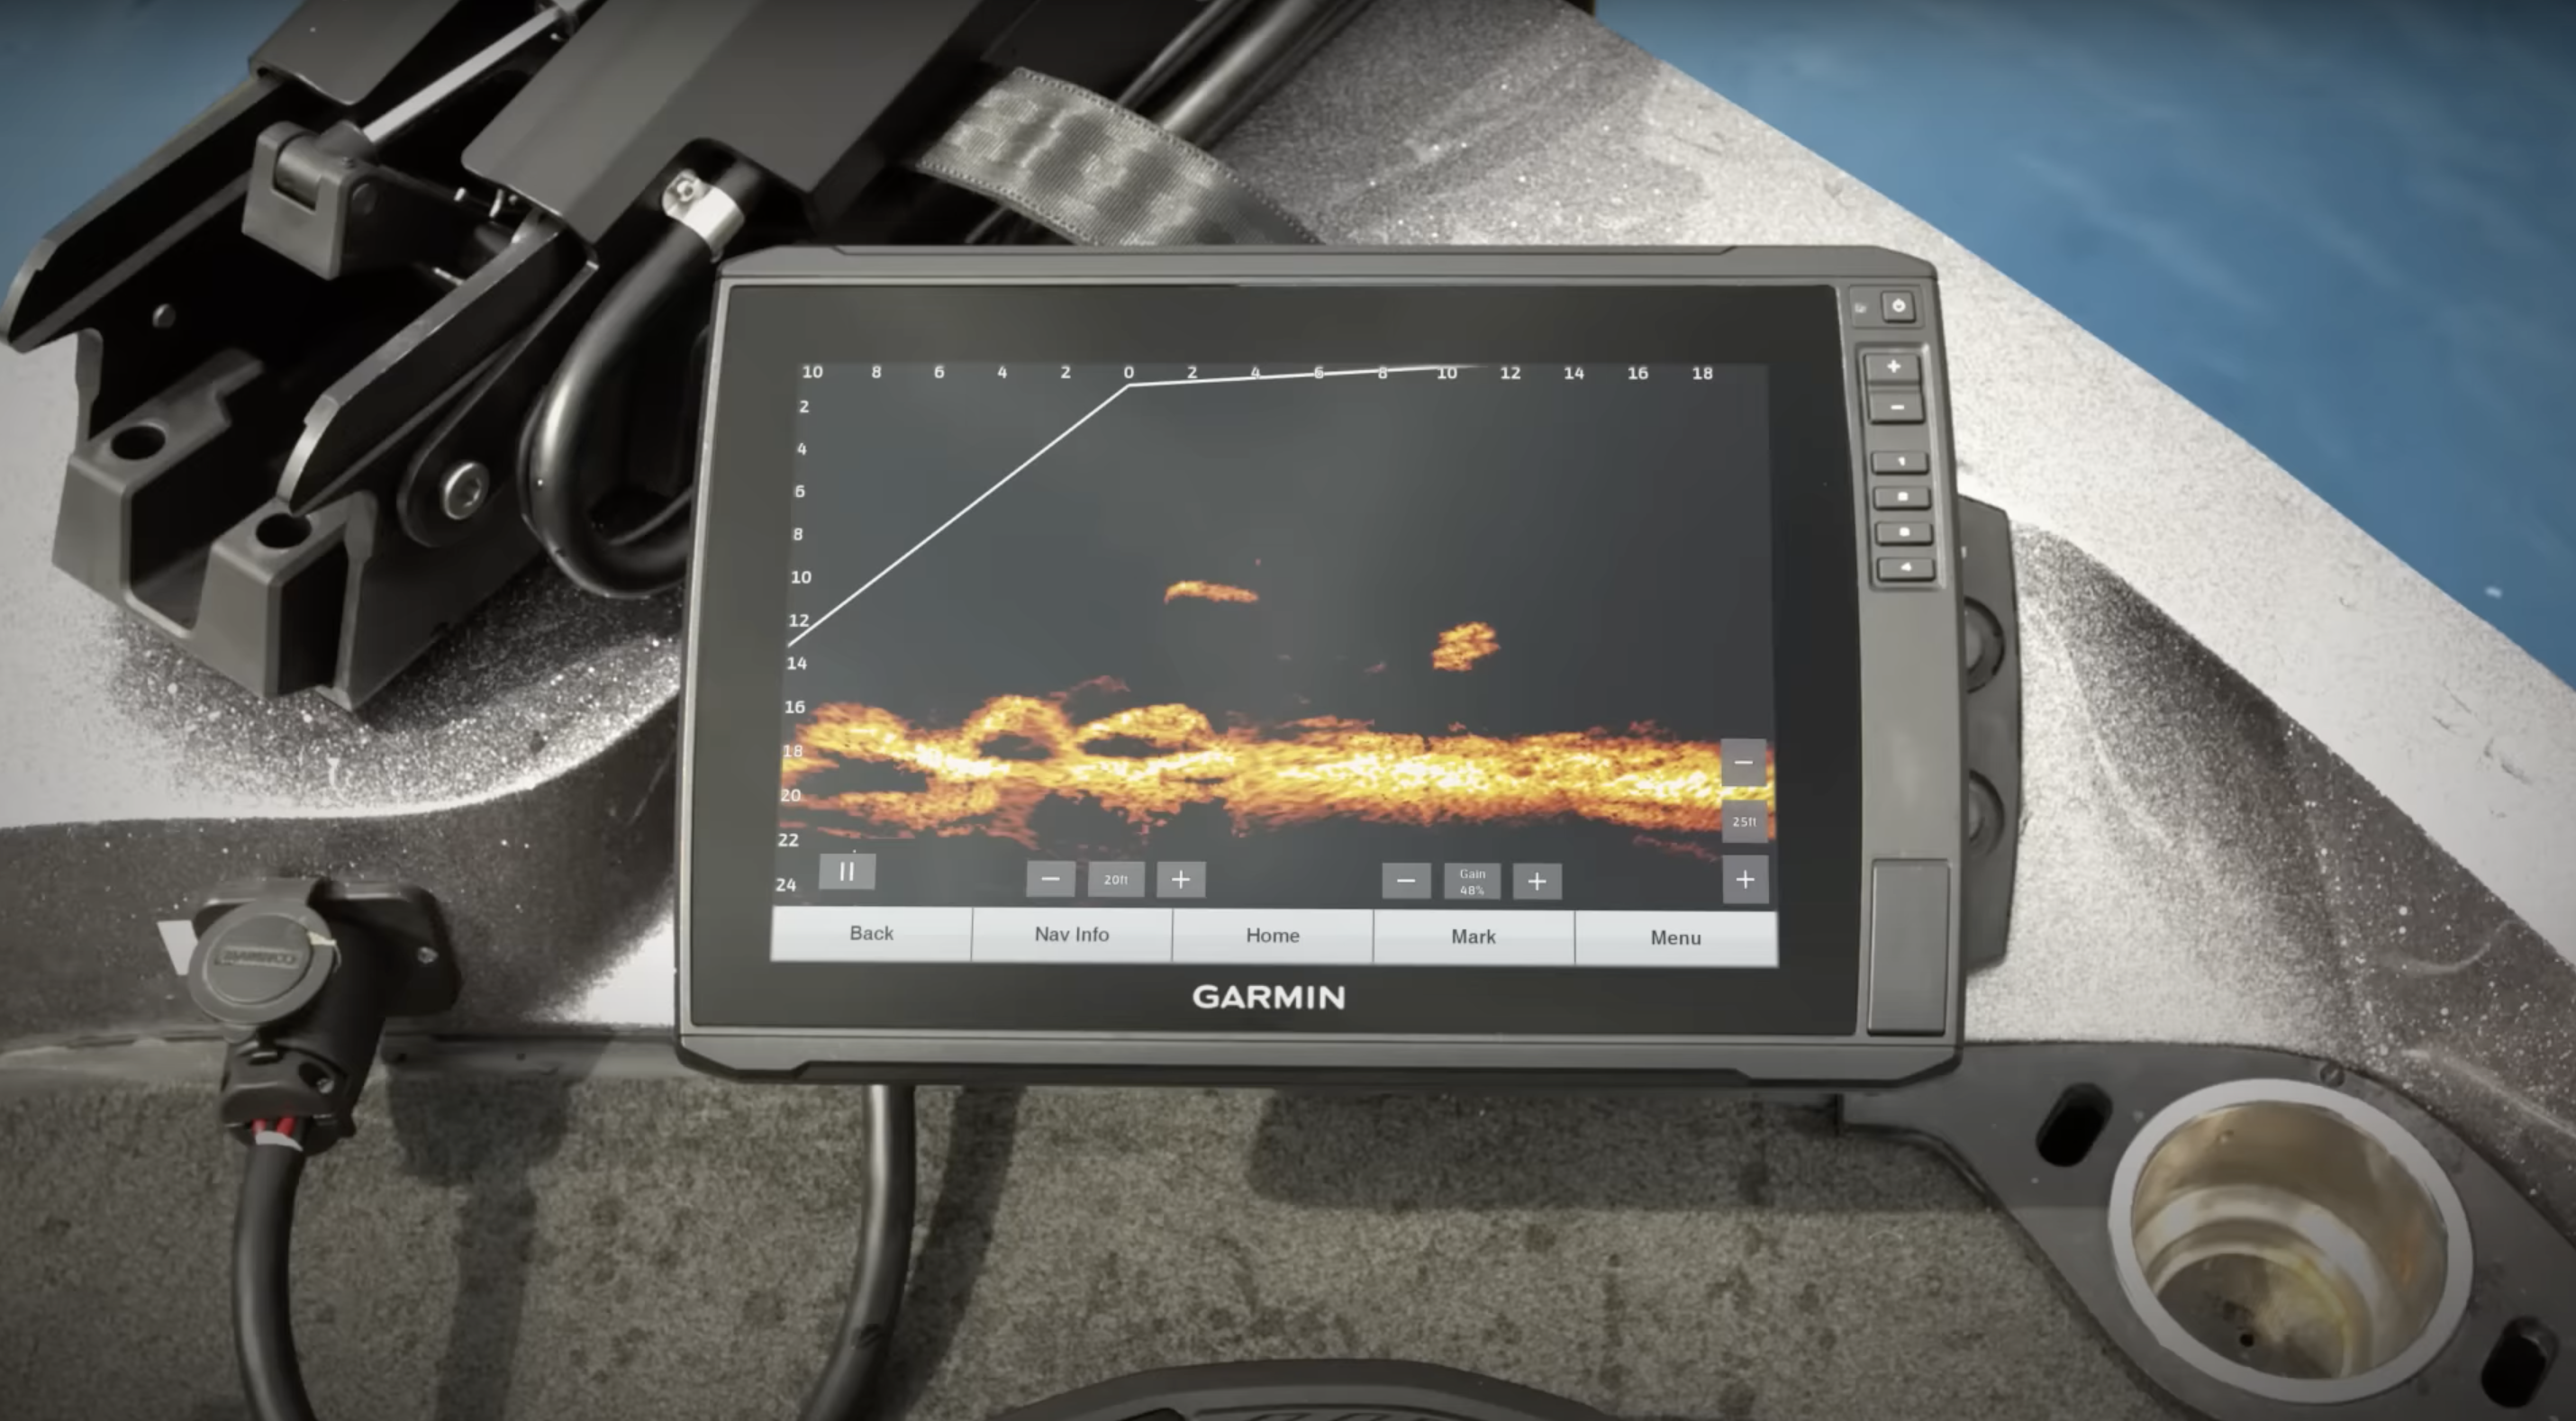
While the pros make forward-facing sonar look easy, it is an acquired skill. It requires that the user keep the beam focused on their lure or target. In the wind, it’s easy to lose your bearings and suddenly be looking away from what you want to see. Some manufacturers and aftermarket products have developed solutions that keep the beam locked on a given target until the user determines that it should be released.
When I was learning my forward-facing sonar unit, a Garmin ECHOMAP Ultra 126sv with LiveScope transducer, I went to known bridge pilings and brush piles. Starting with a known object made it easier to learn how to interpret what I was seeing. Some people eventually get so good at reading their forward-facing sonar that they can discern the difference between a carp and a bass on the screen. I’m not there yet, but the technology can do it if you put in the practice time.
Read Next: Garmin ECHOMAP Ultra 126sv with LiveScope Review
Tips on How to Read a Fish Finder
Making Adjustments
Each sonar unit has its own quirks and eccentricities, advantages, and disadvantages. Most are decent as plug-and-play entities, but just about all of them can benefit from some sort of adjustment. Usually, the menus are self-explanatory, and some playing around will help. In a worst-case scenario, you can restore the factory defaults.
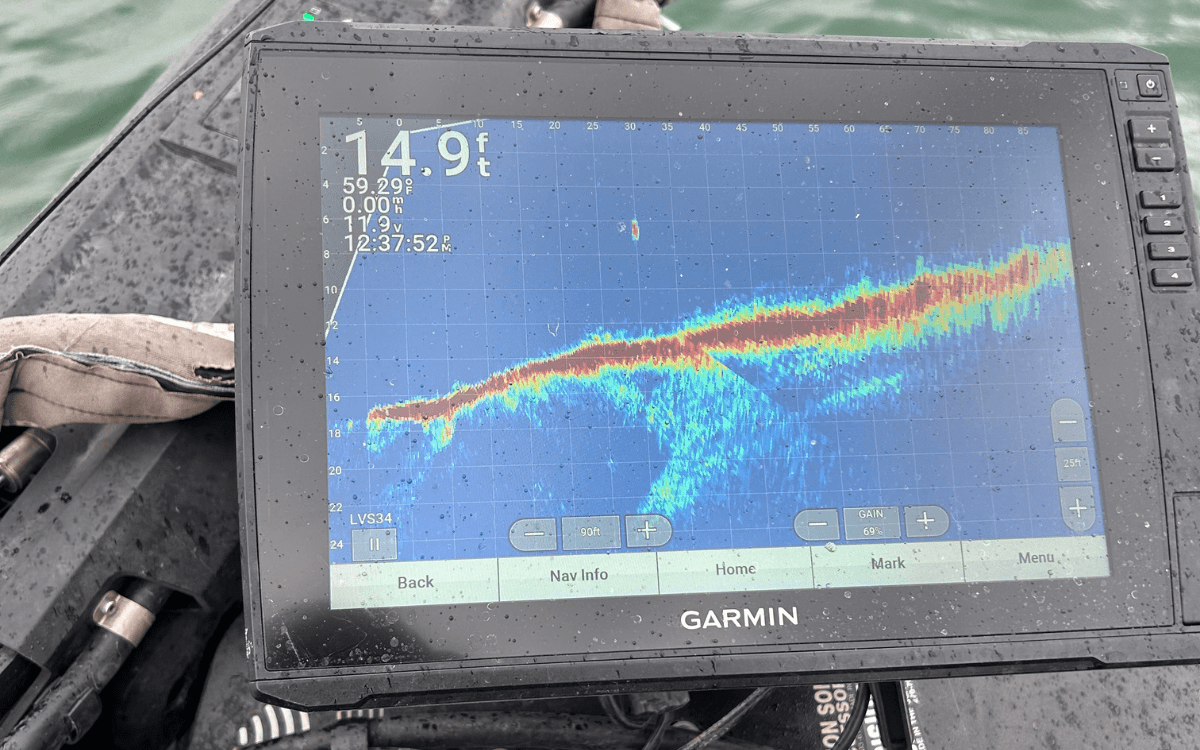
Depth range, ping speed, and cone angle are the three important factors to adjust, but there are other settings that can make your usage more valuable. For example, different color palettes may show detail better for different kinds of structures or in varying amounts of sunlight. Similarly, adjusting sensitivity can make a world of difference depending on the type of detail you desire, as well as other factors like water turbidity. Additional sensitivity may show up as noise or static, too much of which can be a distraction, but it will also indicate otherwise-hidden objects and features.
Transducer Placement
It’s critical to have the proper transducer, with un-pinched, heavy gauge wire and an adequate power source, to get the most from your sonar units. Try to isolate the wiring if possible. Different technologies require different speeds and transducer settings to operate to maximum capacity. For example, forward-facing works best at slow speeds, and side-imaging is great at idle speeds, but two-dimensional sonar can work even at high speeds if the transducer remains in the water. Be sure it has a clear view of the bottom, without any rough water around it. In the case of through-hull transducers, air bubbles are your enemy. When possible, keep the ping line free of obstacles, air, or inconsistent contact, and try not to bounce it off of cover. Properly functioning sonar is an incredibly valuable tool when it comes to unlocking underwater mysteries and finding fish that others can’t or won’t be able to locate.
Final Thoughts on How to Read a Fish Finder
Whether you’re using an old school flasher, a nice 2D down imaging unit, one that has side imaging, or the latest forward facing sonar graph, it’s important to remember that nothing replaces time on the water with your technology. While most options are plug and play, getting yourself familiarized with the graph, it’s capabilities, and how it shows you what’s going on under the surface are incredibly important if you plan to use them to catch more fish. Not only are they a financial investment, but a time investment as well.
But, once you’ve gotten the hang of your fish finder of choice, you’ll start to see just how beneficial they can be. Whether you’re using it to find structure or cover, or to chase around individual fish in real-time, most anglers enjoy how much they can learn about the fish they love to catch through their fish finders. It might be a bit time consuming at first, but it’s definitely worthwhile to learn how to read a fish finder before hitting the water this season.

