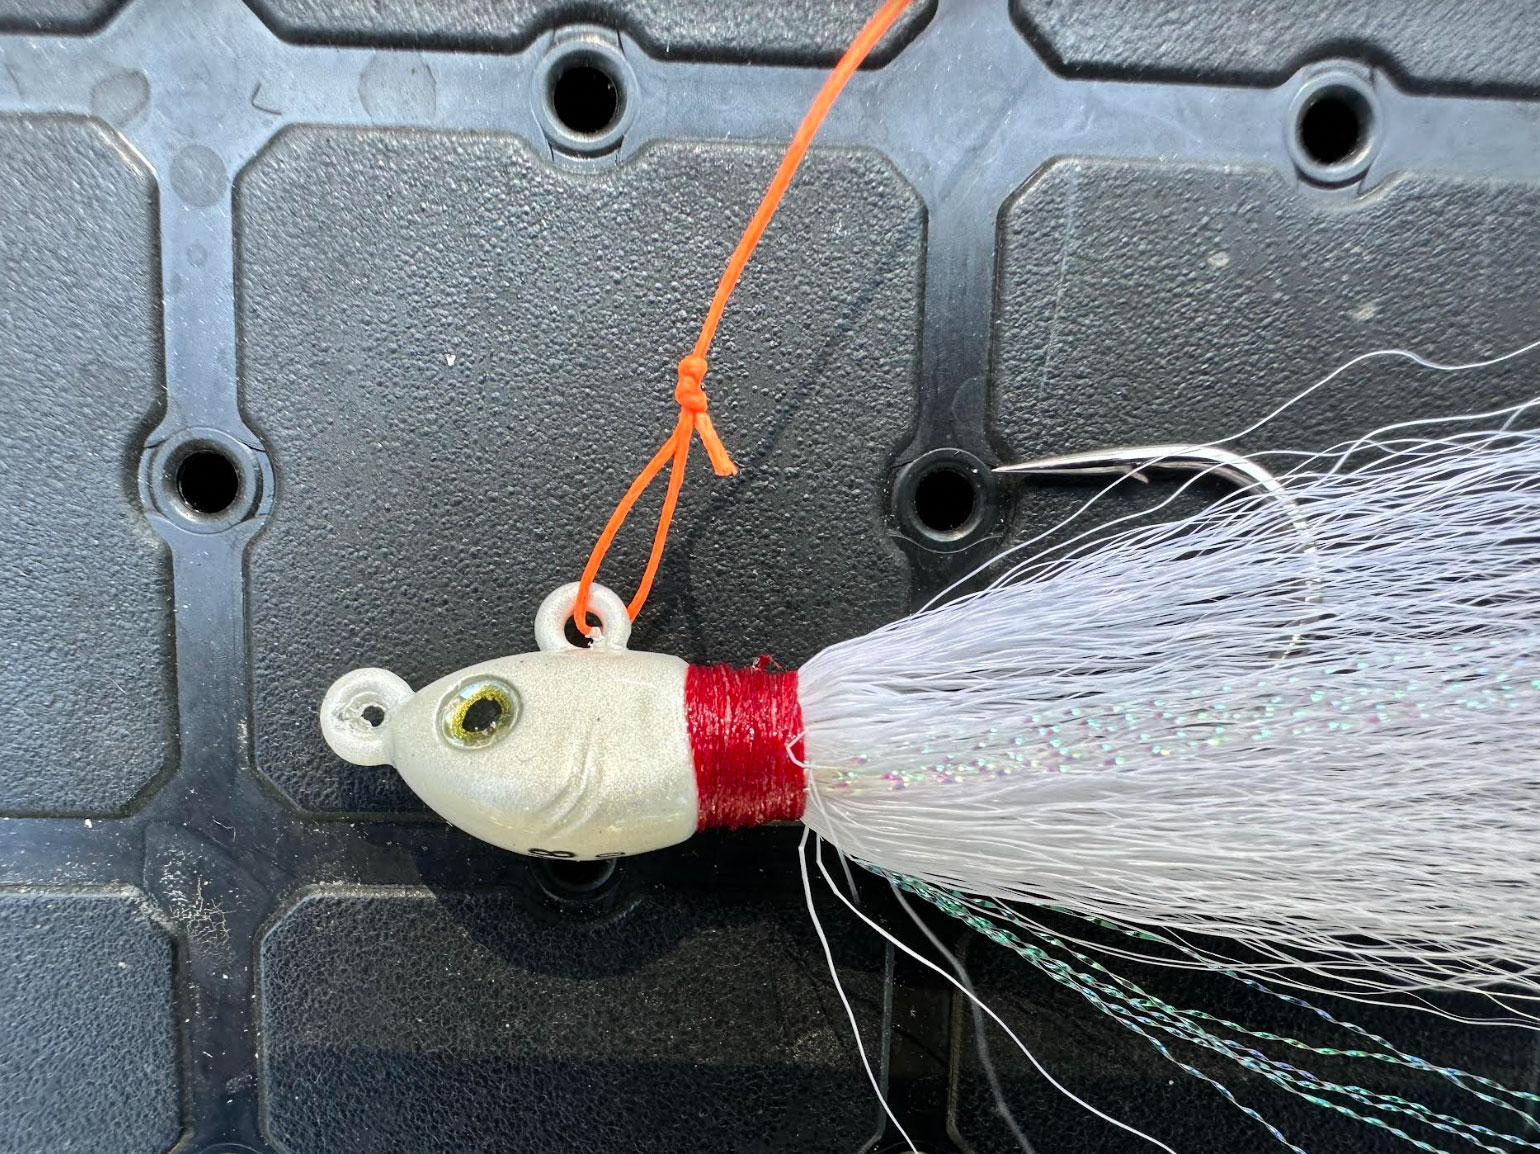
Do you tie your lures and flies on with a loop knot? If you answered no, don’t fret. I can’t tell you how many anglers I’ve met that don’t incorporate a loop knot into their repertoire of ties, but I’ve also found that it’s missing because many simply don’t understand the benefits. Knots like the improved clinch and uni are quick to tie, as is the Palomar knot, which is regarded as one of the strongest fishing knots ever created. They’re all great, but a good loop knot offers a lot more than these common ties and it can even help you catch more fish. Here’s what you need to know about how to tie a loop knot.
The Benefits of the Loop Knot

Though there are several loop knots that anglers lean on, the non-slip mono loop is arguably the easiest to learn and one of the strongest. I’ve even landed tuna weighing more than 50 pounds on a popper connected to my leader via a non-slip mono loop. It’s rare, in fact, that I don’t use a loop knot when tying on a lure or fly that has a swimming action and doesn’t come from the factory with a split ring.
By using a loop knot, lures and flies have more range of motion, as they can freely slide around on the loop. A loop knot also increases a lure or fly’s ability to pivot and move laterally, so every twitch or strip gets them dancing just a little bit more than if they were tightly fastened with a Palomar or uni knot. The non-slip mono loop also holds fast whether you’re tying it with monofilament or fluorocarbon, and it works well with line diameters up to approximately 40 pounds. So, let’s breakdown the non-slip mono loop, which I consider a must-know for every angler.
Read Next: Best Bass Lures
How to Tie the Loop Knot, Step By Step
1. Start by tying a simple overhand knot in the end of your line or leader. Don’t cinch it too tightly and be sure to leave a tag end that’s 5 to 6 inches long. It’s better to have too much tag end than not enough, which can make completing the knot challenging if not impossible in some cases.

2. Pass the tag end through the eye of your lure, fly, or hook, then back through the overhand knot. At this stage, you can pull the tag end gently to draw the overhand knot closer to the eye. The distance of this knot from the eye will determine the size of the finished loop. The further from the eye, the larger the loop and vice versa.

3. With the overhand knot pinched in place so it doesn’t move, wind the tag end around the standing line or leader. When using lines testing 10 pounds or less, make four or five turns. With heavier lines and leaders, three turns are plenty to maintain maximum knot strength.

4. Next, pass the tag end back through the overhand knot.

5. The most difficult part—which won’t be difficult after a bit of practice—is cinching the knot tight without accidentally creating a larger loop than you planned. If you were simply to pull the main line and tag ends in opposite directions, the overhand knot will end up moving away from the lure, thereby creating a bigger loop. Instead, pinch the overhand knot and main line together with one hand. Now, gently pull the tag end with the other hand. Cinch the knot slowly, as pulling too quickly can cause the loop size to change. Once you feel everything cinch together between your pinched fingers, you can pull the mainline and tag end in opposite directions to give the knot a final snugging.
6. Trim the tag end close to the knot.
Read Next: Best Fishing Line for Bass
A Warning About Braided Line
Braided line is extremely popular these days. Its structure and behavior, however, make it less compatible with some classic knots—the non-slip mono loop being one of them. Though it may hold well with heavy braid testing 65 pounds or more, it’s risky with thinner, lighter braid. Because these lines are so skinny and slick, even a well-cinched non-slip mono loop can slip under too much pressure when tied with braided line. Of course, there are very few fishing scenarios where you’d tie your hook or lure directly to braid anyway, and in those scenarios, you wouldn’t need a loop knot. If you are using braid, you’ll want a monofilament or fluorocarbon leader between the braid and your lure, which lets you get right back in the loop knot game.

