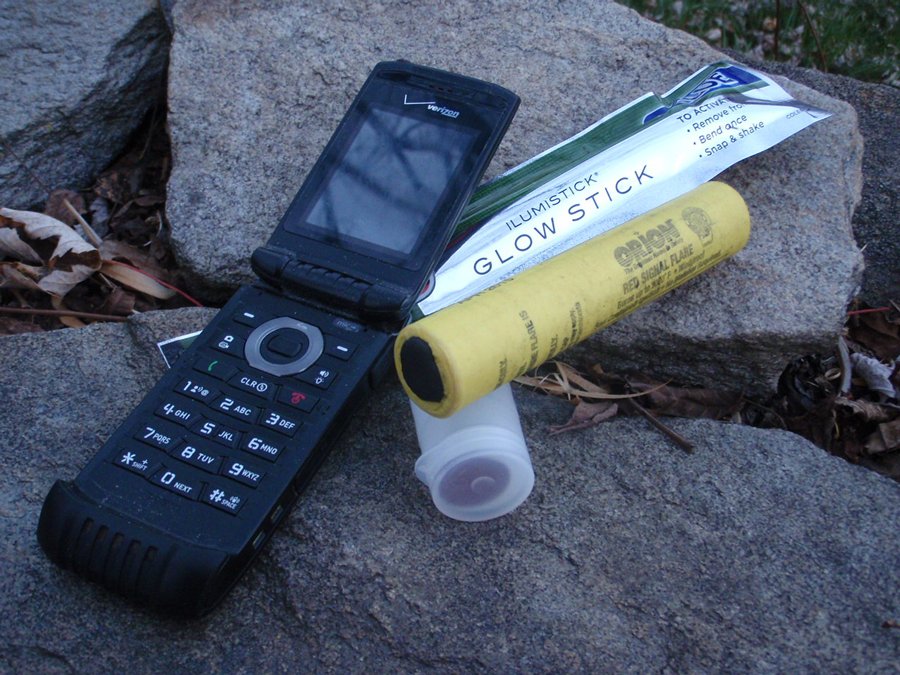
Having multiple effective ways to signal for help can make all the difference in a survival situation where outside help is warranted. Distress signals can take many forms, from high-tech modern electronics to the primitive techniques and materials that our ancestors would have used. Signaling is one of the most under-practiced and under-emphasized skill sets in our survival arsenal, and it’s about time we took it more seriously. Follow my lead and learn how to assist in your own rescue with our roundup of signaling methods and essential gear.
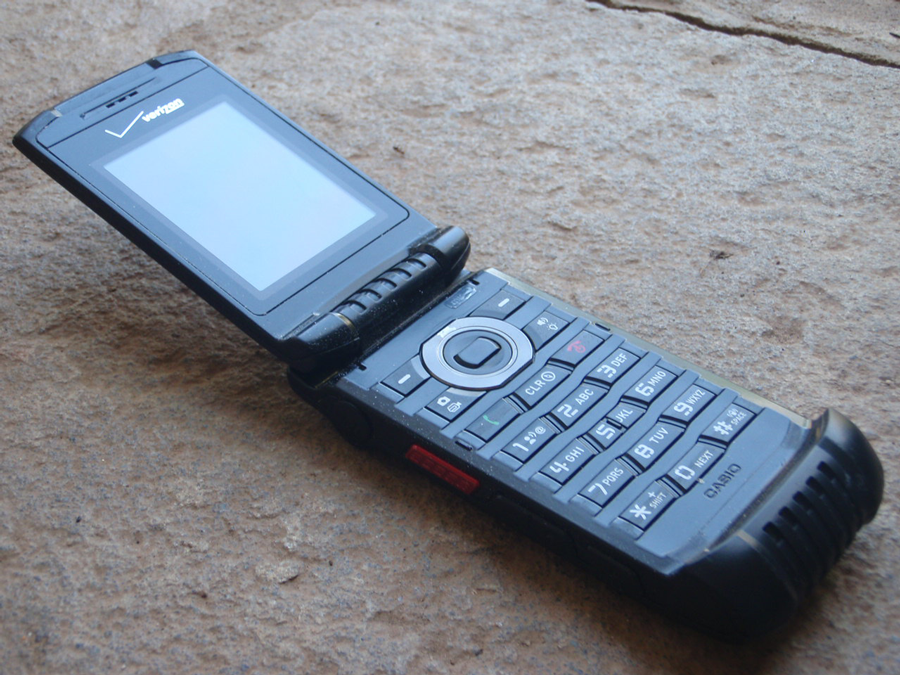
Perhaps the greatest signal tool for everyday emergencies, the cell phone in your pocket can be your ticket to rescue—providing you have signal. In areas where service is available, your call for help can be made to the exact right people and vast amounts of information can be conveyed. In areas with a weaker signal, try sending out a text message. SMS transmissions require only a moment of weak connectivity to a nearby tower. If you’ll be spending time in an area without cell service, consider buying (or renting) a satellite phone, which will allow you to make a call from anywhere on earth.
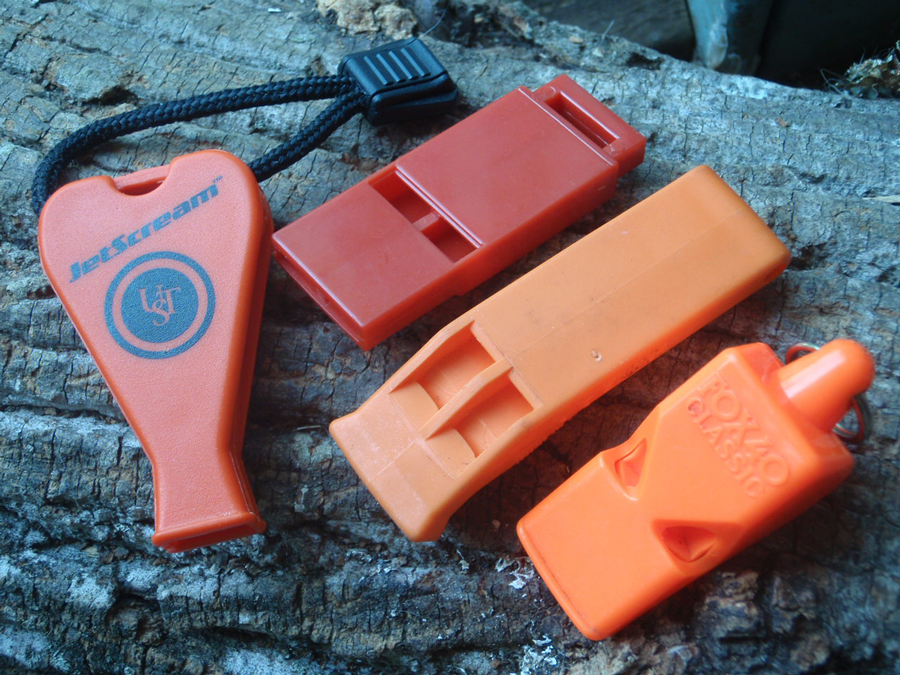
The humble whistle is a fine piece of signal gear for short-range audible signaling. Three blasts of a whistle are generally interpreted as a universal signal for distress. Select brightly colored whistles, which are easy to spot if dropped. Also, select whistles that are attached to lanyards, rings or clips, to prevent loss. Pea-less whistles (no moving parts) are the best choice for sub-freezing weather, as your spit can freeze the little cork ball in place, rendering it temporarily useless. This takes your whistle out of commission until it is warmed up or dried out completely.
Whistles are the perfect signal device to give to your kids on outings since they’re easy to operate and most kids like making noise anyway. Instruct them to blow the whistle in blasts of three and to stay in one spot until help arrives, should they get separated from you in the outdoors.
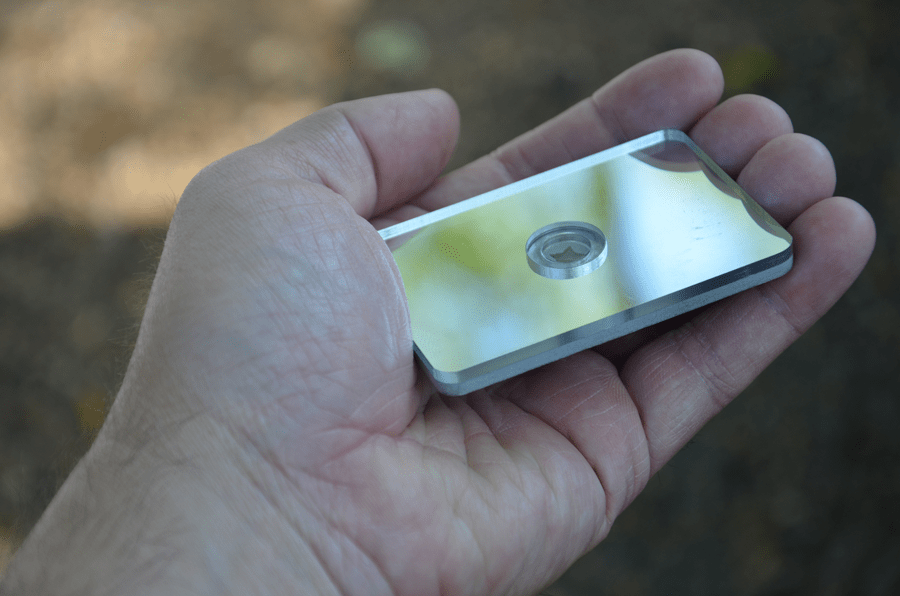
A signal mirror is one of the furthest reaching, non-electronic signal methods. Properly aimed, a signal mirror can shine a beam of daylight up to 10 miles, creating a flash of light that can catch the attention of distant aircraft, watercraft, vehicles, or persons on foot. Purchase a mirror with a sighting lens, and practice using it with a friend in a large open area. If you both have mirrors, you could even make a game of your practice time. Something like “Who can blind the other guy the most?” will provide immediate feedback that your aim is true.
If you get caught with a mirror that doesn’t have a sighting lens, hold the mirror under your eye, direct the beam of light onto the tip of an outstretched finger, and then place that illuminated finger just below your target. Sweep the mirror VERY slowly right to left and up and down. This should sweep the beam across your target and hopefully get someone’s attention.
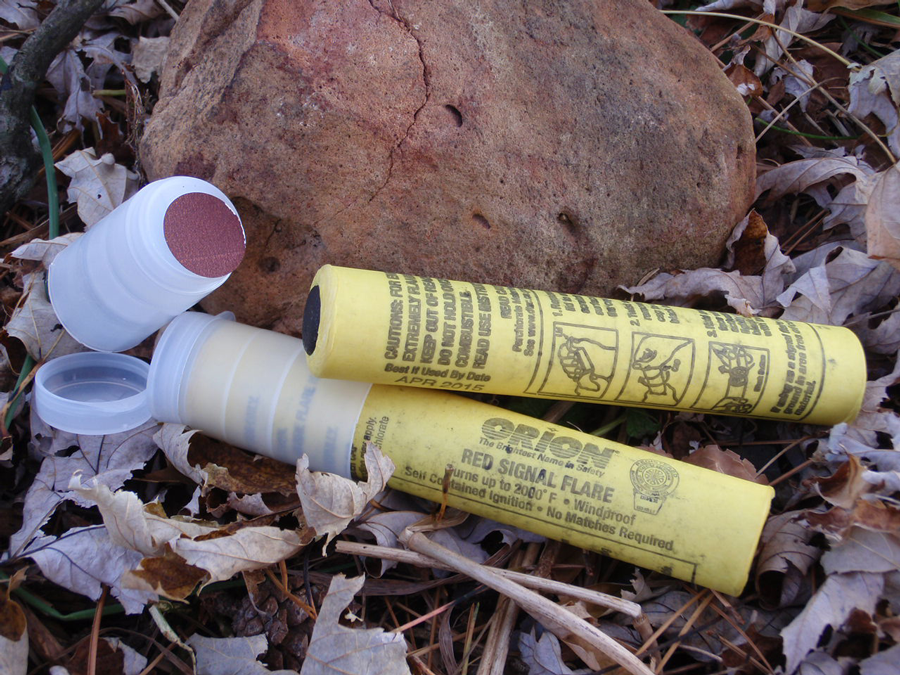
A flare can provide a reasonably bright light for signaling, and it also makes a great back-up fire starter. To give your flare some more reach, duct tape it to a pole or branch and wave it around in the air. Duct tape only the end of the flare, so you’ll have more time before the flare ignites the duct tape. Just make sure you don’t wave the flare directly overhead, in case it comes loose unexpectedly. My favorite flare is the Orion SAR Signal Flare/Fire Starter, which costs about $10 for a pack of two flares. Each flare burns approximately five minutes at well over 2,000 degrees Fahrenheit.
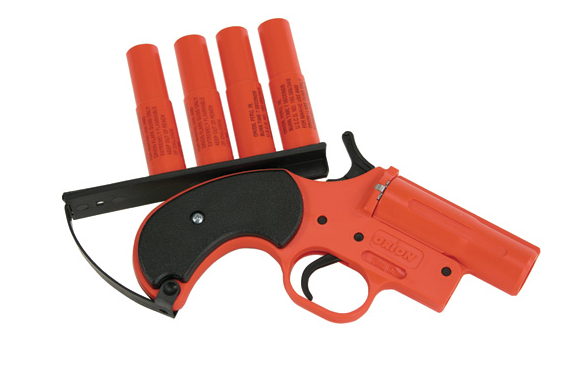
A staple signal method on watercraft, the flare gun can garner a lot of attention from aircraft and search parties on the ground. But before you start firing off rounds into the air, consider the danger of wildfire in your location. Many flares are still burning when they hit the ground. Dry brushy areas, arid grasslands, and dry pine forests are horrible places to use a flare gun. Sure, the wildfire will gain some serious attention, but not the kind you want—plus you never want to be on the ground in proximity to a wildfire. One quick change in the wind’s direction, and your method of signaling for help becomes the instrument of your ironic end. For everyone’s safety, relegate the flare guns to wetland areas and the open water.
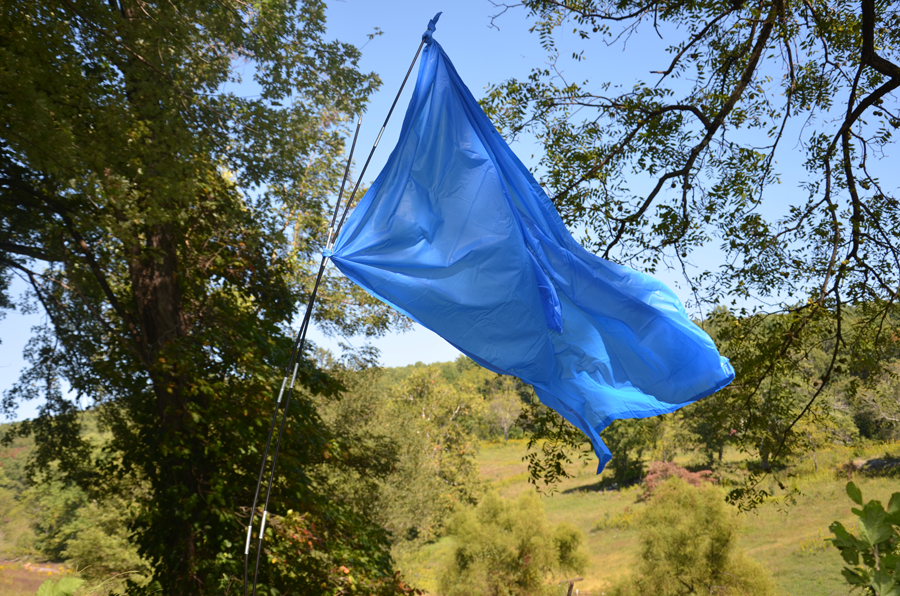
Flags have been used for signaling for thousands of years. And while there are commercially available signal flags, you also can create your own. A brightly colored or contrasting colored garment tied to a stick serves as a quick flag. Tie a poncho to a set of tent poles and you have a very large flag to wave, or lash this set-up to a sapling for a free-standing signal. A space blanket and other reflective material makes an excellent flag. Your homemade flag could be virtually any shape, so long as it is a large panel of material that doesn’t blend into the surroundings. Flags can also be laid out on the ground for ground-to-air signaling.
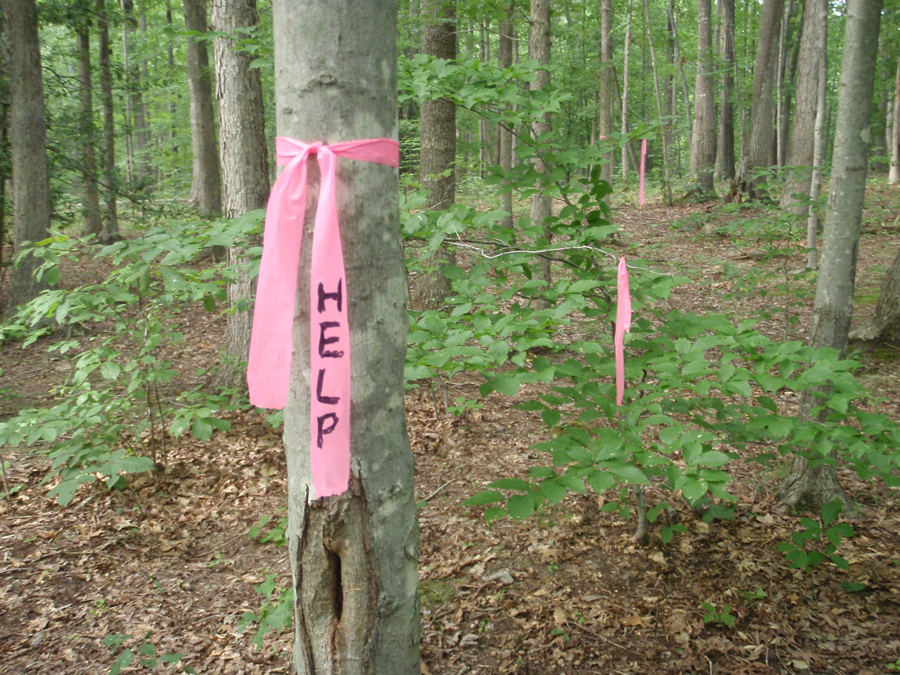
A little bit of electric blue or hot pink survey tape is a great, lightweight addition to your survival signaling kit. Use strips of this easy-to-tear material to create new trails, mark existing trails, and even leave messages. Add a permanent marker to the gear and you can leave detailed information. A similar product with even more eye-catching appeal is called bird scare flash tape. This is commonly available in gardening catalogs, and is used around berry bushes and orchards to create flashes of light that scare off scavenging birds. This highly reflective material is also good at catching the eye of humans.
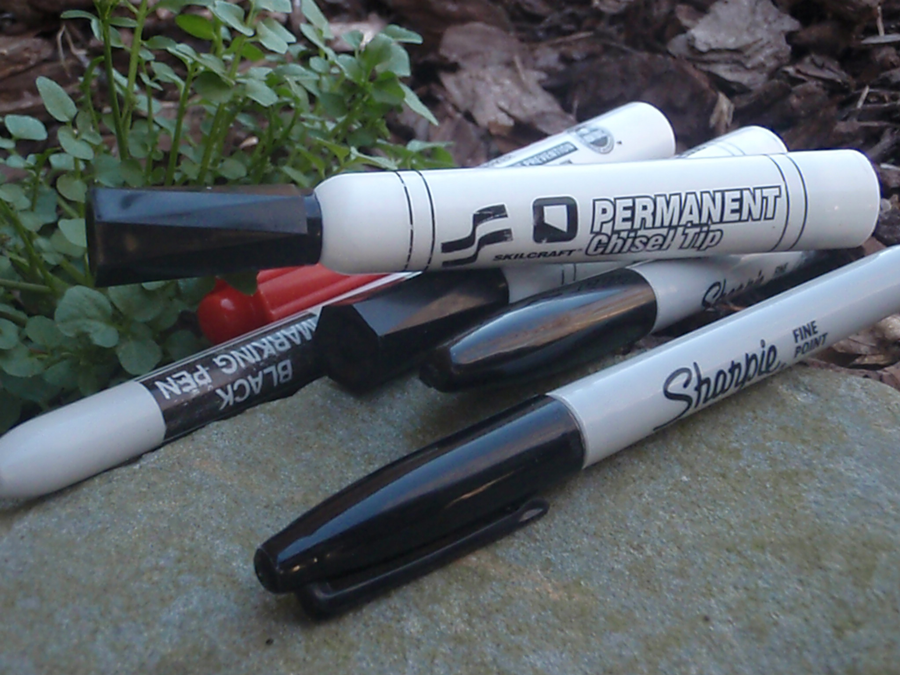
With a permanent marker, you now have the ability to write and make marks on virtually any dry surface. Did you get lost? A marker (plus a little survey tape, as mentioned in the previous slide) will indicate trails that you can use to prevent further wandering, and create weatherproof trail blazes so that rescuers can better find you.
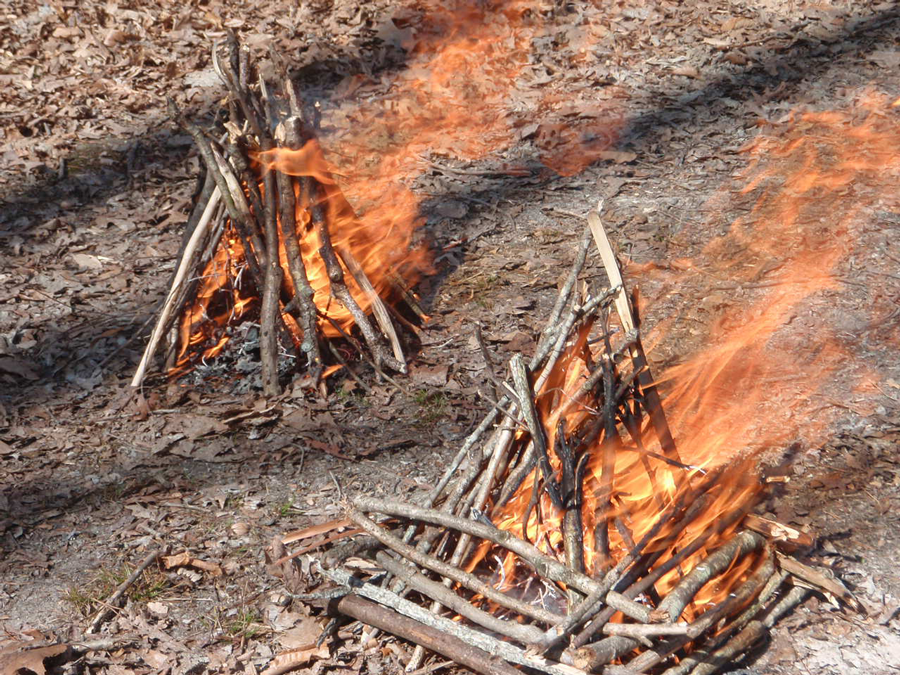
This broad category of signals is limited only to your imagination and the materials at hand, and includes ground-to-air signals (like a giant SOS on the ground); cairns, arrows, and other markings to catch the attention of a search party on the ground; flashlights and glow sticks; and the best one of all—a signal fire. Fire is your best friend in the wild, and fire can be used as a very effective signal for help, with many documented successes over the centuries. Remember that there is a fine line between control and danger when lighting and maintaining big fires, though. Consider these important things about signal fires:
• First, the fire should be in a very visible place, so that both the smoke and light it produces are visible.
• Second, the fire should be in a place where it won't get away from you. The middle of the dried grasslands on a breezy day is a very bad place to burn a big fire.
• Third, don't let the fire get so big that you cannot put it out with the means you have at hand.
• And fourth, think about contrast. Unless you have a ton of birch bark or fatwood, everything else you would burn in the wild will produce a white smoke. If it is a cloudy day or foggy, no one will notice your white smoke against a white sky. Throw a few ounces of motor oil or brake fluid, plastic pieces, or any other petroleum-based substance into the fire to produce black smoke, which is much more noticeable.
This broad category of signals is limited only to your imagination and the materials at hand, and includes ground-to-air signals (like a giant SOS on the ground); cairns, arrows, and other markings to catch the attention of a search party on the ground; flashlights and glow sticks; and the best one of all—a signal fire. Fire is your best friend in the wild, and fire can be used as a very effective signal for help, with many documented successes over the centuries. Remember that there is a fine line between control and danger when lighting and maintaining big fires, though.
Consider these important things about signal fires:
- First, the fire should be in a very visible place, so that both the smoke and light it produces are visible.
- Second, the fire should be in a place where it won’t get away from you. The middle of the dried grasslands on a breezy day is a very bad place to burn a big fire.
- Third, don’t let the fire get so big that you cannot put it out with the means you have at hand.
- And fourth, think about contrast. Unless you have a ton of birch bark or fatwood, everything else you would burn in the wild will produce a white smoke. If it is a cloudy day or foggy, no one will notice your white smoke against a white sky. Throw a few ounces of motor oil or brake fluid, plastic pieces, or any other petroleum-based substance into the fire to produce black smoke, which is much more noticeable.
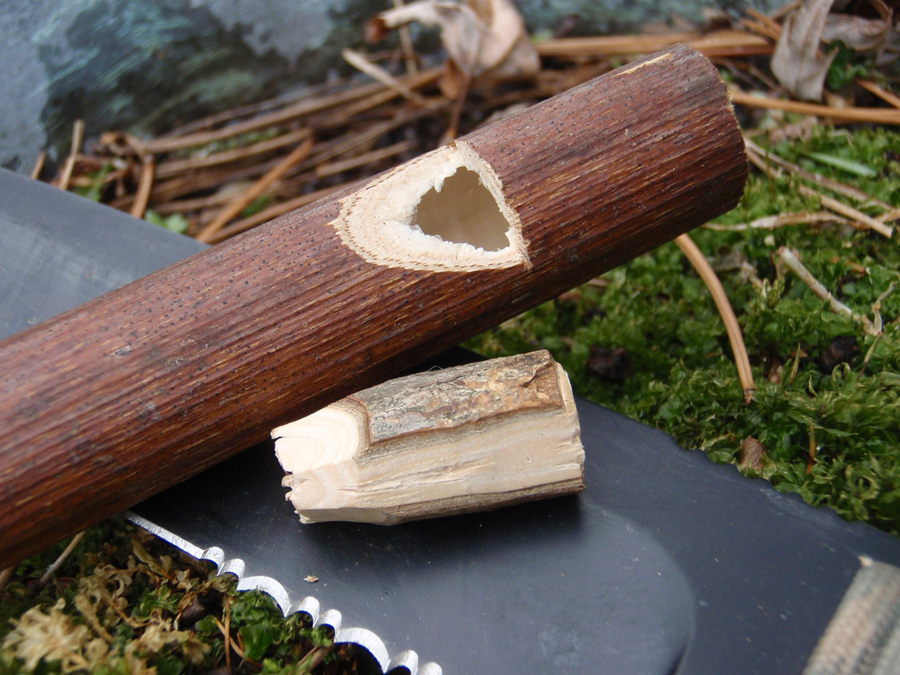
Don’t have a whistle? Don’t give up hope. A creative person can find lots of ways to make noise and draw attention to their plight. High-pitched tones can be achieved by loudly whistling with your fingers in your mouth or carving your own whistle.
Lower tones can be made by beating and banging on things. One of the best methods involves a hollow hardwood log, which is easy enough to find in forested areas. Collect a few hardwood sticks and beat on the log to produce a loud clacking sound. Use the stick or sticks that produce the loudest sound with that log, and prop up the log on some rocks for optimal vibration. This type of log “drum” has been heard more than four miles away under ideal conditions.
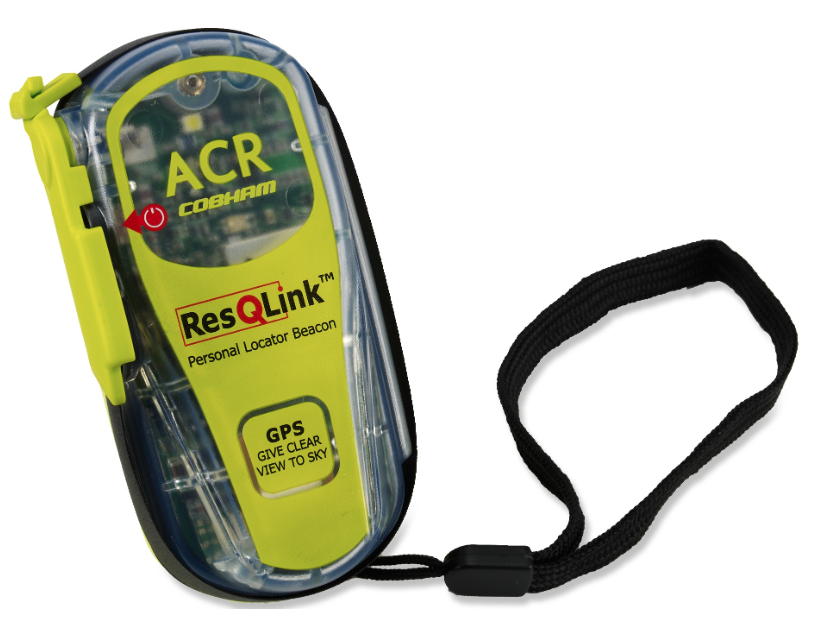
Arguably the best emergency signal method, a personal locator beacon (PLB) is a widely available and affordable satellite-connected device that effectively acts as a wilderness “panic button.” This modern wonder is available in many variations from several manufacturers. The base models are simply alert buttons that will provide your coordinates to the monitoring company, who in turn will contact the local authorities and send someone to assess the situation. More advanced (and expensive) models allow you to text or email via the satellite connection. This level of connectivity allows you to not only call for help, but allows you to get a message to the authorities communicating the exact crisis or calamity.
